
Almost thirty years ago, ecommerce took the retail world by storm when two of the first secure online purchases were made by everyday consumers: a large pizza from Pizza Hut, and a Sting CD sold on 11 August 1994.
Imagine the uncertainty those two people felt when they took that first leap of faith to buy online! Although, they did have two very important senses to rely on – they already knew what flavour awaited their taste buds, and what sound Sting’s music would bring to their ears.
But when it comes to selling other products like apparel, accessories, equipment or furniture, things can get a little trickier. Since there’s nothing tangible in front of the buyer to explore with all their senses, buying online comes with a dose of scepticism.
This is where excellent product photography becomes critical!
An image still serves as the quickest way for consumers to gather all the information they need about a product, reflecting the quality of your inventory and shaping a vital first impression. Which means that even if your product on your Shopify store is outstanding, poor photography will be your sale's demise.
So we’re here to bend your ear about the importance of professional product photography, and give you some great tips along the way.
Professional product photography for your Shopify store
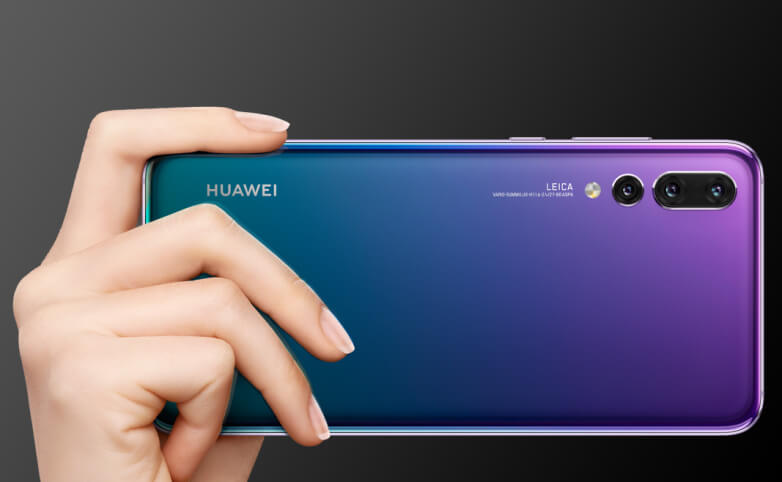
An unpopular opinion to some: a smartphone camera just won’t cut it.
The best iPhone, Huawei or Samsung on the market today certainly has cutting-edge camera tech - there’s no denying that. But it’s still no match against a proper camera body, a high-quality lens and superb lighting.
Photography is a delicate art and we must respect it as such. So no matter how good your Instagram photos and their easily applied filters look on someone’s feed, you absolutely need to keep the following advice in mind when it comes to ecommerce:
The right equipment and basic technical knowledge combined will let you create the kind of stunning images that really bring your products to life. And this is what will make them sell.
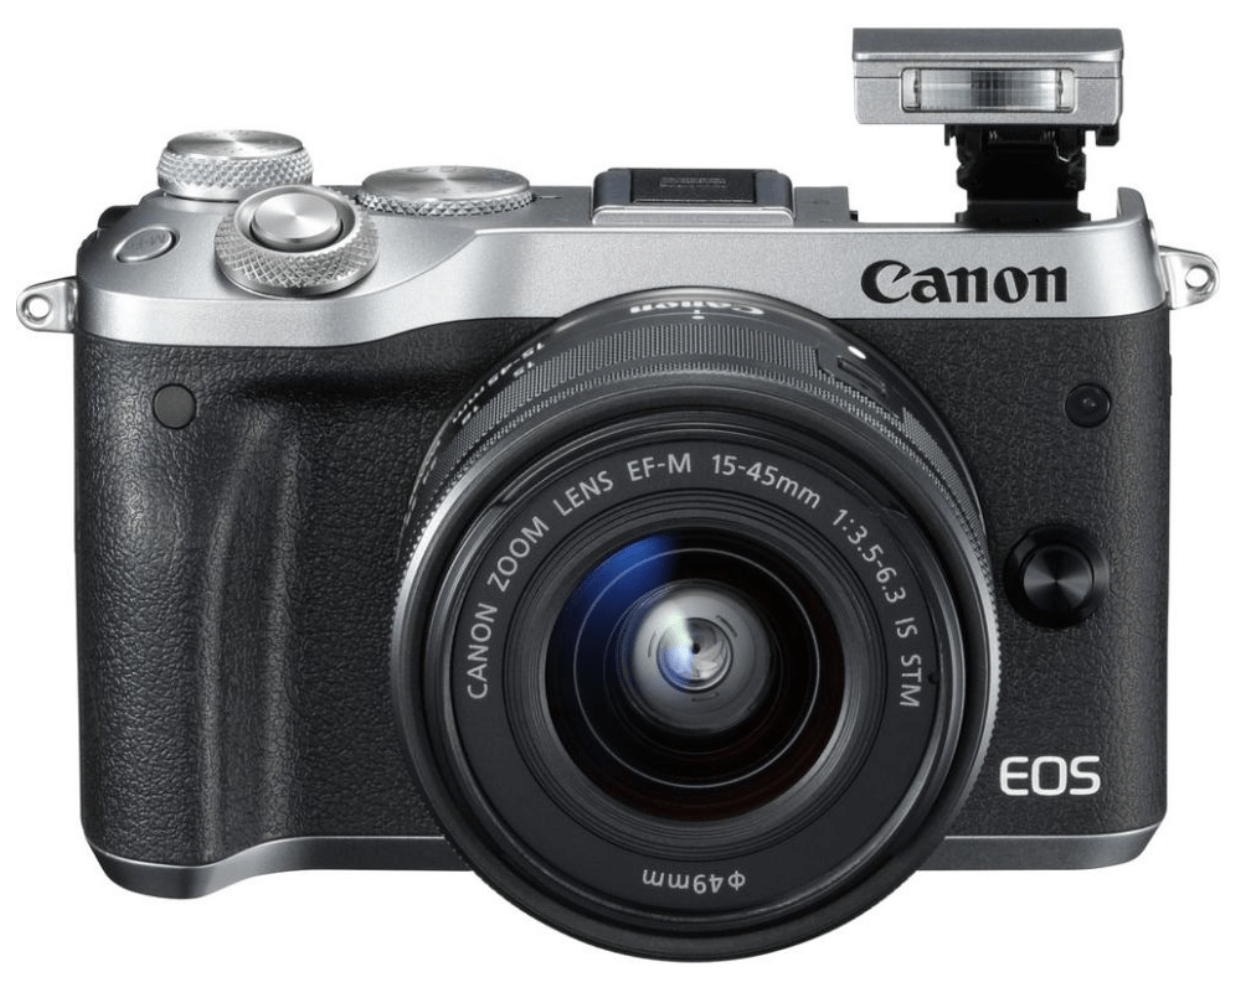
Choosing between MILC and DSLR cameras for product photography
Off the bat, DSLR is best. Of course because it’s best it also means it’s more expensive – which might not be exactly what you’re looking for right now. Before you make a decision on a camera or a photographer, it’s worth understanding the difference.
A mirrorless interchangeable-lens camera (MILC) is a class of digital system cameras that has an interchangeable lens, but does not have a mirror-based viewfinder. This means you can only view a representation of the image on your camera’s LCD screen.
So it’s not quite as accurate as DSLR, but it can still provide you with high-quality images! Especially if you follow professional lighting tips and put attention into detail with editing. Plus, MILC cameras are more compact, making them lighter for travel.
And according to Digital Camera World, “2018 was a big year for mirrorless cameras. The arrival of the Nikon Z 6 and Z 7, the Canon EOS R and the Panasonic S1R and the S1 meant that mirrorless cameras could now compete with DSLRs at every level”. So don’t be scared to give MILC a shot – you can definitely create breath-taking work with it.
A digital single-lens reflex (DSLR) camera is a digital camera that combines the optics and the mechanisms of a single-lens reflex camera with a digital imaging sensor.
This means that you can see, in real-time, the exact scene you’re going to capture via the optical viewfinder. This makes it a lot easier for you to see in realistic detail exactly what your image is going to look like. You can also fit a much larger sensor onto a DSLR, which will allow you to catch more light and essentially capture better, finer detail.
Furthermore, you’re presented with great flexibility with setting options, so you can adjust your way to perfection. You’ll need to know your way around the camera to get this right. It’s better to learn through doing than through only reading about it – practice makes perfect!
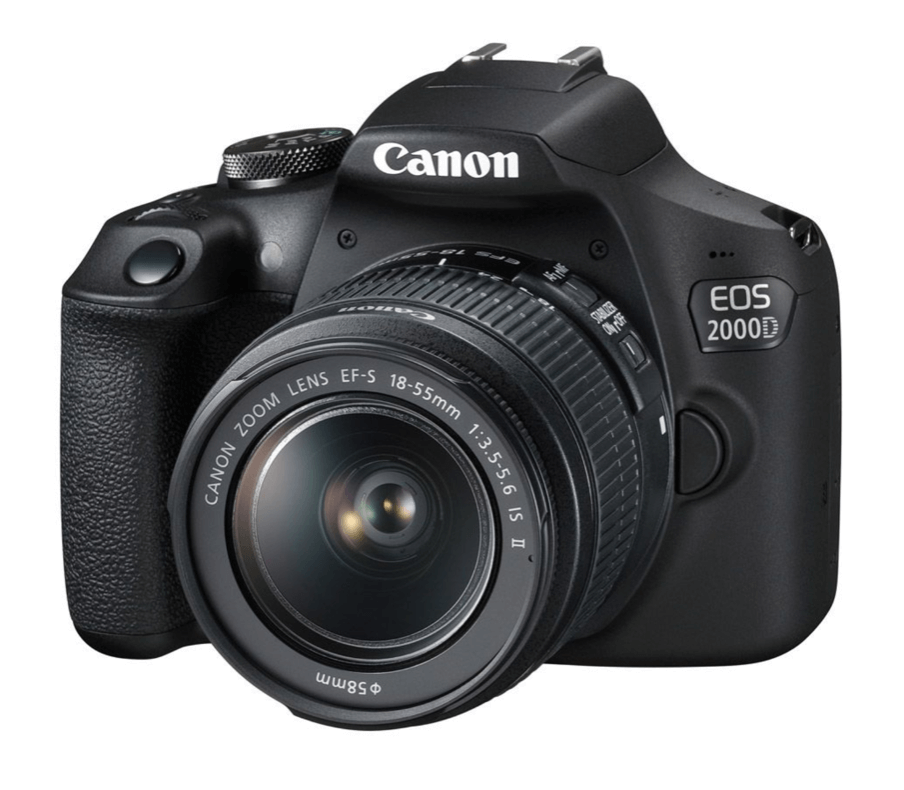
In short, DSLR is often said to be the best camera for the highest quality and most professional product photos to upload to your Shopify site. Although they’re pricey, it’s an unequivocal investment for excellent photography.
If you’d like to learn more for yourself, be it for hobby or profession, you can check out online photography courses that teach you all about photoshop, lighting, exposure, cameras and more.
Making a smartphone camera work for product photography
We started with a pretty bold statement earlier about smartphone cameras not cutting it. Only because we care about your investments and the success it will bring, so we’re here to give you the best advice.
But at the same time, we understand that sometimes larger investments aren’t possible immediately – and that’s totally fine. You can actually still work wonders with a smartphone and have decent product imagery for your Shopify store. As long as you follow these five essential tips:
Use a tripod to keep your camera steady so that your photos turn out sharper and more consistent. The size of your product will determine the size of the tripod you need.
Use your camera’s timer to prevent camera shake when you hit snap. Even the slightest blur can spoil a good photo.
Avoid using your camera’s zoom function at all cost. The more you zoom, the more you are decreasing your photo quality.
Don’t use your camera’s flash because the direct, sharp light will make your photo look cheap. Rather increase the power of your artificial light or use an external flash unit bounced off the ceiling or a wall for a more natural look.
Make use of apps like Adobe’s Lightroom, which not only provides you with some of the best editing tools but also allows you to shoot in RAW for even more advanced editing later on.
Whichever camera you decide to use, be it DSLR, MILC or a camera phone, you need to bring look and feel into the picture too. Even the best camera can’t make up for a bad background! Which brings us to our next step.
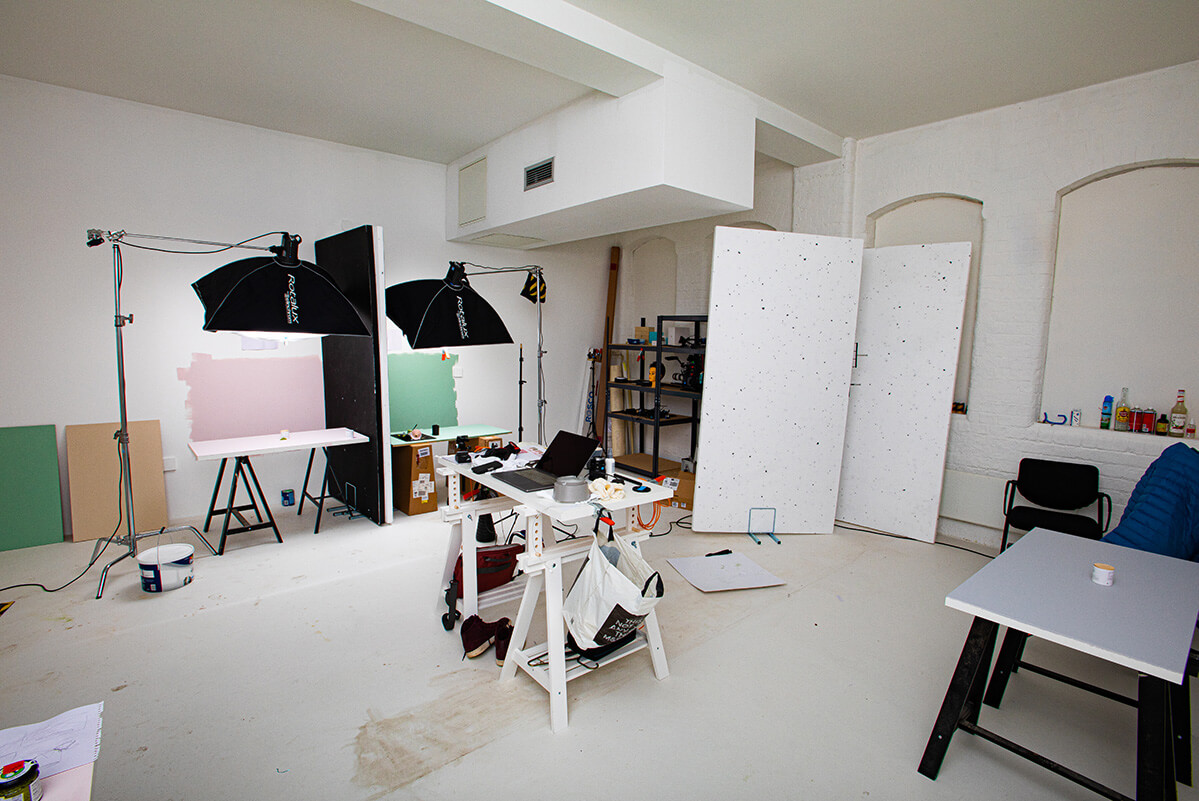
Building your set
There’s two ways to go about it: relying on a standard white background or creating a theme in your set. Both ways require effort and technique. And both require good lighting.
White background
The point of creating a white background is to keep the focus strictly on your product and to show it in its best light. This is mostly used on the product page and normally includes snaps from a few different angles.
Start by setting up a sweep with white fabric or white craft paper (whatever you use, it needs to be absolutely spotless). A sweep brings a gentle curve to your background that shifts from vertical to horizontal smoothly, thereby erasing solid lines and allowing easier manipulation of depth and shadow.
How you build your sweep depends on the size of your product. Using a chair is ideal for smaller items, whereas bigger items may need a larger sweep that is set up against a wall and draped over a table or right onto the floor.
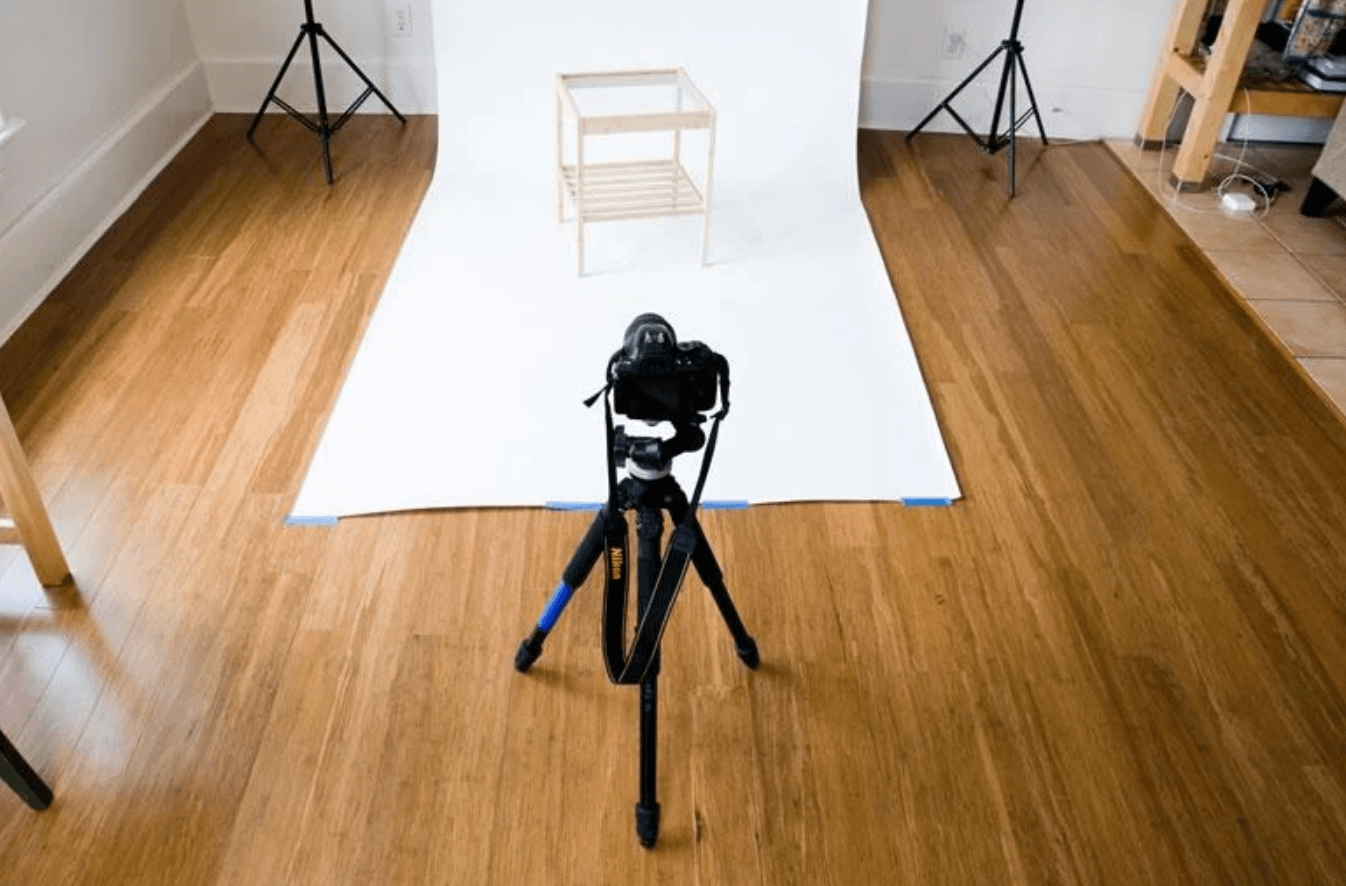
Your sweep needs to be big enough to cover the full frame of your photo. However, if you still end up with some unwanted elements in the frame, try using an image background removal tool to seamlessly edit your product photos. Also, you need to have adequate space for a white reflector card to fit onto your sweep without appearing in the photo frame. There’s nothing worse than having to crop and potentially break the dimensions of an otherwise perfect image!
Product photography with a white background is a highly intricate practice in which you have to be able to control every last angle and reflection. Lighting is going to be your number one tool and will make or break the quality of your final images as they appear on your Shopify store. If you want to practice your lighting skills, be sure to start spending some time exploring tutorials made by some of the most prestigious product photographers today.

Patrick Mavros White Agate in Silver Nada Ring
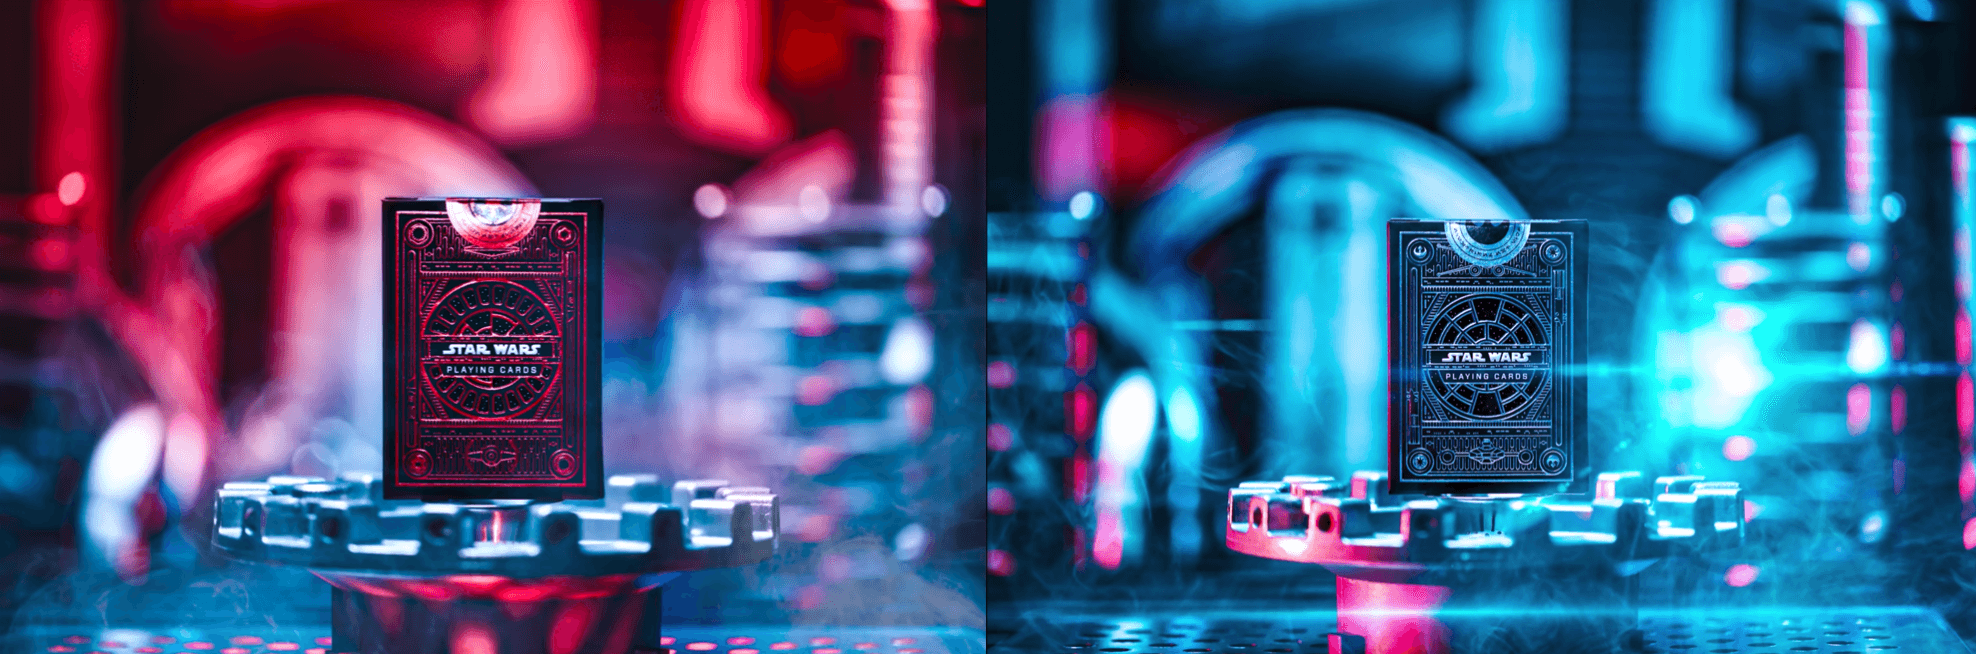
Themed set
Themed sets help bring tone and atmosphere to your photos. By creating a background and including items in your image you can create a rich and textured scene that supports the product at hand. Themed product photography is mostly used for marketing purposes or for website header images to complement the style and design.
A few important things to keep in mind when building a themed set:
Find a background that suits the colour scheme and overall tone of your set. If you use a printed background, be sure to use matte paper as gloss will reflect light, give away your secret and ruin your shot.
Choose subtle items that complement your theme but do not overpower your products. The focus still needs to remain entirely on the product.
Position the items in the foreground, background and at different heights in order to create depth in your image.
Use this playful opportunity to try out different colour-accurate LED lights like an Aputure Amaran AL-MX light to strengthen the theme and atmosphere of your photos even more.
See how Peter McKinnon uses light, depth and mad skill to create these stunning Star Wars themed product photos.
Don’t forget, you can also use in-context or lifestyle shots that show your product in use. These sort of shots tell a story, create emotional engagement and deliver a realistic expectation of your product in situ. If you’re shooting these indoors, the same lighting techniques for professional photography applies. If you’re shooting outdoor, take advantage of natural light by choosing the golden hour. Shortly after sunrise the light is redder and softer, and shortly before sunset you’ll find that lighting is evenly diffused. Avoid midday when the sun is higher in the sky and gives off a harsh, sharp light.
What’s next?
Well, editing and perfecting your photos of course before displaying them to your customers on your Shopify store! Be sure to follow our blog, as we’re going to give more advice on editing your perfect product photography soon. For now, start practising your set-building, lighting and overall techniques. Or give us a call if you need any further advice on all things Shopify and ecommerce.
 Shopify SEO Audit TODAY


